What Is the Facebook Pixel?
The Facebook Pixel is a piece of code you can install on your website. It helps to measure the effectiveness of your Facebook ad campaigns by monitoring the actions people take both on your site.
You can use the Facebook Pixel code to track events on:
- Pageviews
- Time on page
- Scroll depth
- Add to cart
- Purchase
- And more
Additionally, it can be used to create retargeting campaigns and remarket to people who have taken a desired action or visited a specific page on your website.
In short, the Facebook Pixel:
- Lives on your website
- Tracks visitors as they interact with your webpages
- Gives you the ability to build custom audiences for retargeting
- And enables you to track the ROI of your Facebook and Instagram campaigns
How to Install Facebook Pixel
Now that you know its function, it’s to install the Facebook Pixel on your website. You can do that by taking the following steps steps:
1. Create a Facebook Pixel
First, you’ll need to create your pixel. Head over to your Facebook Events Manager, then click Connect a Data Source > Web. Now select Facebook Pixel and click Connect to continue.
Then add Pixel details.
2. Add the Facebook Pixel to Your Website
There are three ways to integrate the Facebook Pixel:
- Manual installation
- Using an integration or tag manager
- Emailing instructions to a developer
Let’s look at each option in more detail:
1. Add the Facebook Pixel to your website manually
The Facebook pixel works best when it’s displayed on every page of a website. However, you don’t need to put it on every page; just put the pixel code in the global header, i.e., <head> </head> of your website. Paste the FB pixel code in the middle of the header code, before </head> and after <head>, and click Save Changes.
2. Ask a developer to add the Facebook Pixel code to your website
If a web developer maintains our website, you can also email them instructions and code to add the Facebook Pixel. Select Email Instructions to a Developer, and put in their email address.
After the code is added, use the Facebook Pixel Helper to see if it’s working properly.
Facebook Pixel Helper also informs you about errors – enabling you to redo the installation steps to ensure that it’s working correctly.
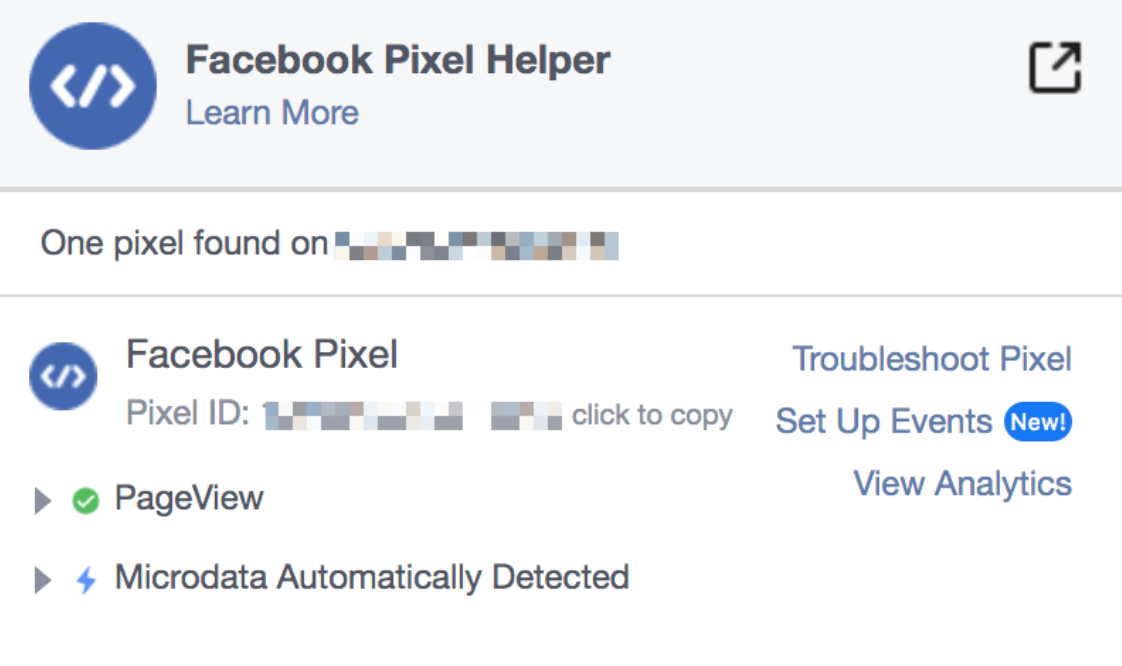
If the Pixel Helper displays no errors, you can start viewing real-time event and conversion data in your Facebook marketing campaigns.
It makes sense that installing the Facebook Pixel is as straightforward as copying and pasting. After all, having the Pixel on your site incentivizes you to advertise with Facebook, as well as Facebook-owned Instagram. That makes Facebook happy.
Facebook is also happy for you to use the Pixel because – whether you advertise with them or not – you are helping Facebook build richer profiles of its users. Having its tracking pixel scattered all over the internet lets Facebook know what its users are doing outside of the platform.
At any rate, incentives are aligned with when it comes to installing the code in your store: You get better advertising, Facebook gets better data.
Conclusion
With Facebook advertising, you have several opportunities to engage and convert visitors even after you’ve shown them a front-end offer. The kind of data presented by the Facebook Pixel helps you retarget your ads to potential customers in the future.
The analytics tool provides excellent insights into your audience, delivers ads to audiences who’ve shown interest in your business, and enhances the overall efficiency of your ad campaigns.
Seriously, do your business a favor and tap into that pixel goodness!
Facebook Pixel: Frequently Asked Questions
What does the Facebook Pixel collect?
It collects data that makes it possible to track conversions from Facebook ads, including visitor behavior and cross-device activity. As a result, you’re able to generate a more targeted audience for future ads, retarget visitors who have taken specific actions on your website, and optimize existing campaigns to improve Facebook ads ROI.
How do I get a Facebook Pixel?
Here are the six steps for creating Facebook Pixel:
- Open Events Manager from our Facebook Ads Manager dashboard.
- Click Connect to Data Sources and choose Web.
- Select the Facebook Pixel and click Connect.
- Add a name for your pixel.
- Enter your website URL and click Continue.
How many Facebook Pixels do I need?
Facebook allows you to create up to 100 pixels in your account. However, you don’t need that many pixels unless you have hundreds of websites with different audiences. One Facebook Pixel with sufficient data is enough to improve ad targeting and create more effective Facebook ads.